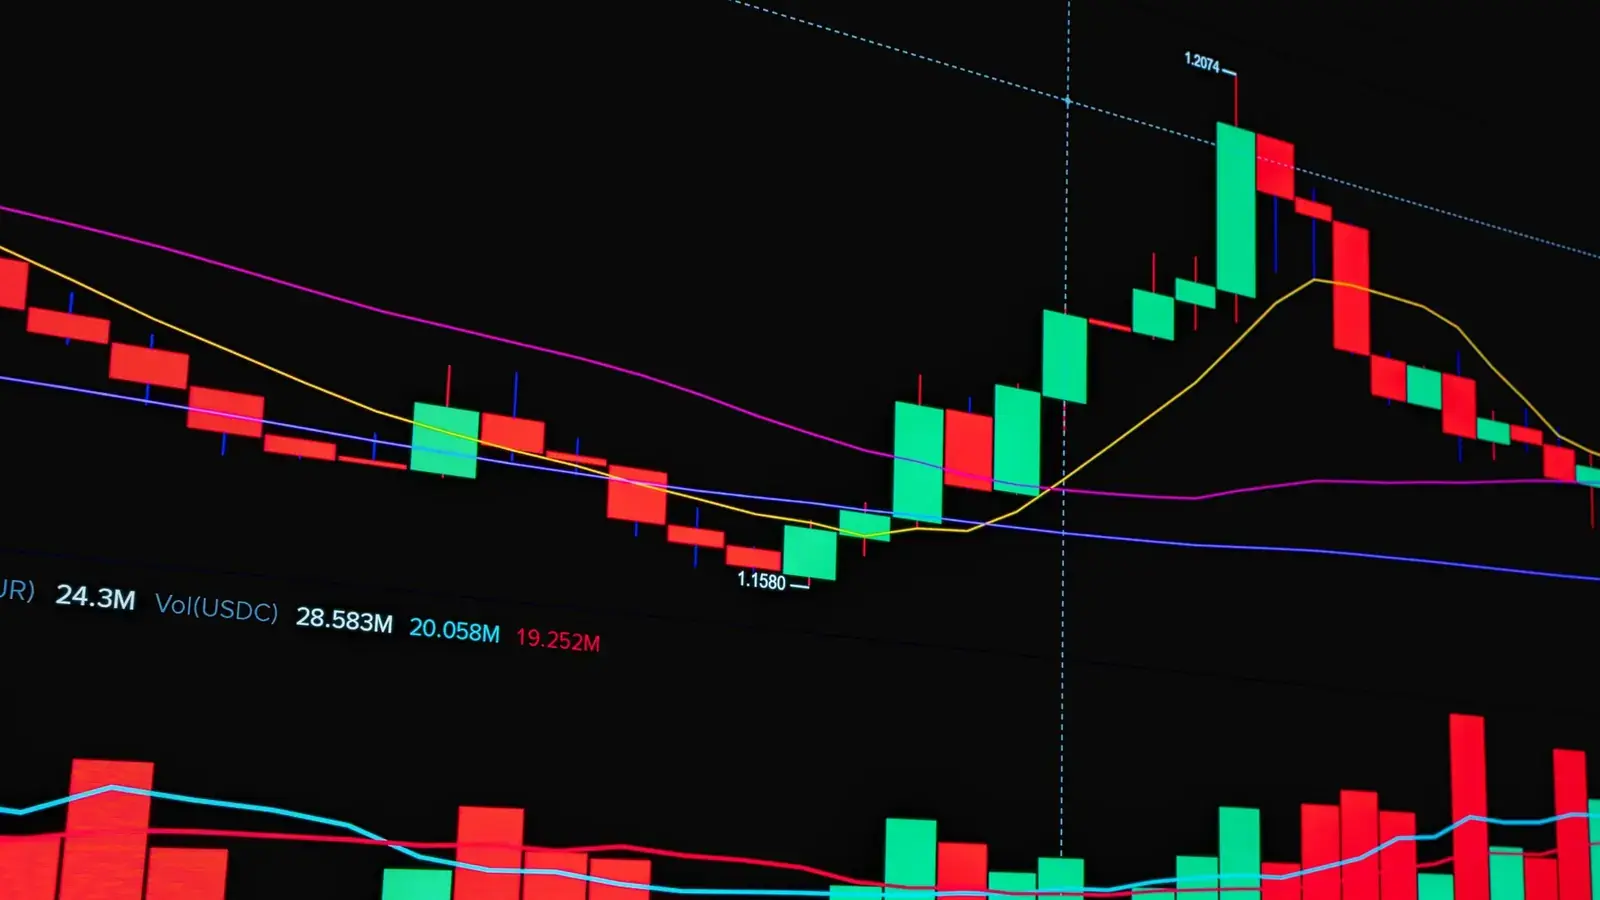
A fair value gap (FVG) is a three-candle price pattern where the wicks of the first and third candles do not overlap, leaving a range that only the middle candle traded through. In a bullish FVG the gap runs from candle one's high up to candle three's low; in a bearish FVG it runs from candle one's low down to candle three's high. Traders treat that range as an imbalance price often revisits, and use it as an entry zone.
The concept comes from ICT trading, the framework popularised by Michael J. Huddleston ("The Inner Circle Trader"). This guide covers the precise definition, how to mark a gap, consequent encroachment, entries, stops and targets, inverse gaps, and how to use FVGs inside a prop challenge.
Highlights of this article
- A fair value gap is a three-candle pattern: candle one's and candle three's wicks leave a range only candle two traded through
- Mark it wick to wick: bullish from candle one's high to candle three's low, bearish from candle one's low to candle three's high
- The gaps worth trading come from displacement, usually after a liquidity sweep and a break of structure
- Consequent encroachment (CE) is the 50% midpoint of the gap, a common entry and invalidation reference
- Entries are usually limit orders at the gap or CE, with stops beyond the gap or swing and targets at opposing liquidity
- FVGs are a discretionary tool with no guaranteed edge: backtest your rules and size for your daily loss limit
Ready to get funded?
Trade up to $200,000 in firm capital with static drawdown, no consistency rule, and payouts within 24 hours. Pass the challenge and keep up to 90% of your profits.
What a fair value gap is
During a fast move, the middle candle of three can travel so far that the candles either side of it never overlap. The prices between their wicks were traded only by that middle candle, briefly and in one direction. ICT calls this an inefficiency or imbalance: price moved through the range without two-sided trade.
- An FVG is a chart pattern, not an institutional order. Banks and funds do not place orders "at the fair value gap". The gap reflects aggressive order flow: one side was dominant enough that price had to move fast to find the other side. For the institutional reality behind that, read order flow trading.
- "Price returns to fill the gap" is a tendency, not a law. Many gaps get revisited because markets rarely move in a straight line. Others never are. There is no verified hit rate for FVGs, so test your own rules.
The precise three-candle definition
Take three consecutive candles: candle 1, candle 2 and candle 3.
- Bullish FVG: candle 3's low is above candle 1's high, and candle 2 is a strong bullish candle. The zone runs from candle 1's high (bottom) to candle 3's low (top).
- Bearish FVG: candle 3's high is below candle 1's low, and candle 2 is a strong bearish candle. The zone runs from candle 1's low (top) to candle 3's high (bottom).
If the wicks of candle 1 and candle 3 touch or overlap, there is no gap. Wicks define it, not bodies.
Bullish FVG example
In the chart below, candle 1 tops out at 100.30. The displacement candle rallies from about 100.10 to 102.00, and the next candle's low is 101.00. Because 101.00 is above 100.30, the range from 100.30 to 101.00 was traded only by the displacement candle. That is the shaded bullish FVG.
A few candles later price pulls back into the gap, reaching about 100.70, then turns and continues higher: a revisit of the imbalance followed by continuation in the direction of the original move.
Bearish FVG example
The bearish version is the mirror image. Candle 1's low sits at 99.70, a strong bearish candle drops through, and candle 3's high is 99.00. The range from 99.70 down to 99.00 is the bearish FVG, and price later rallies back into it before continuing lower.
How to mark a fair value gap
- Find the displacement candle, clearly larger than its neighbours and closing near its extreme.
- Compare the neighbours. For a bullish move, the high before it against the low after it. For a bearish move, the low before against the high after.
- Confirm there is no overlap. If the wicks overlap, move on.
- Draw the box wick to wick and extend it to the right.
- Mark the 50% line. That is consequent encroachment.
- Note the context. Did the move follow a sweep of a prior high or low, and did it break structure?
Marking bodies instead of wicks is the most common beginner error: it moves your entry and stop to the wrong places.
Displacement: which gaps matter
Fair value gaps appear constantly, especially on lower timeframes, and most are noise. The ones ICT traders care about are created by displacement: an energetic, one-sided move that shows intent. The strongest tend to form right after:
- a liquidity sweep takes out an obvious pool of stops, such as equal lows below a range, and
- the displacement that follows produces a break of structure, closing beyond a recent swing.
The gap inside that displacement then becomes the entry zone. A small gap in a choppy range, with no sweep and no structure break, means very little. Context does most of the work; the gap gives you a precise place to act.
Why price often returns to the gap
The popular explanation is that the market "wants" to rebalance the inefficient range. A more grounded version: fast moves often outrun the orders that would normally slow them, so when momentum fades, the pullback travels through the area the move skipped. Traders who missed the move and traders taking profit both act on that pullback, and because so many now watch these zones, activity tends to cluster there.
None of this guarantees a return. Strong trends can leave gaps open for a long time. Chart examples, including the ones here, are also chosen after the fact, which makes patterns look cleaner than they are in real time.
Consequent encroachment: the 50% level
Consequent encroachment (CE) is ICT's name for the midpoint of a fair value gap. If a bullish FVG runs from 100.30 to 101.00, CE sits at 100.65. Traders use it:
- as an entry, a deeper price than the gap edge in exchange for fewer fills;
- as a strength test, reading a reaction at or above CE in a bullish gap as the gap holding, and bodies closing below it as weakness;
- as an invalidation reference, accepting a wick through CE but exiting on a close through the full gap.
In the chart below, the same bullish gap is drawn with its 50% line. Price pulls back, taps the midpoint almost exactly, and holds before continuing higher.
How to trade a fair value gap
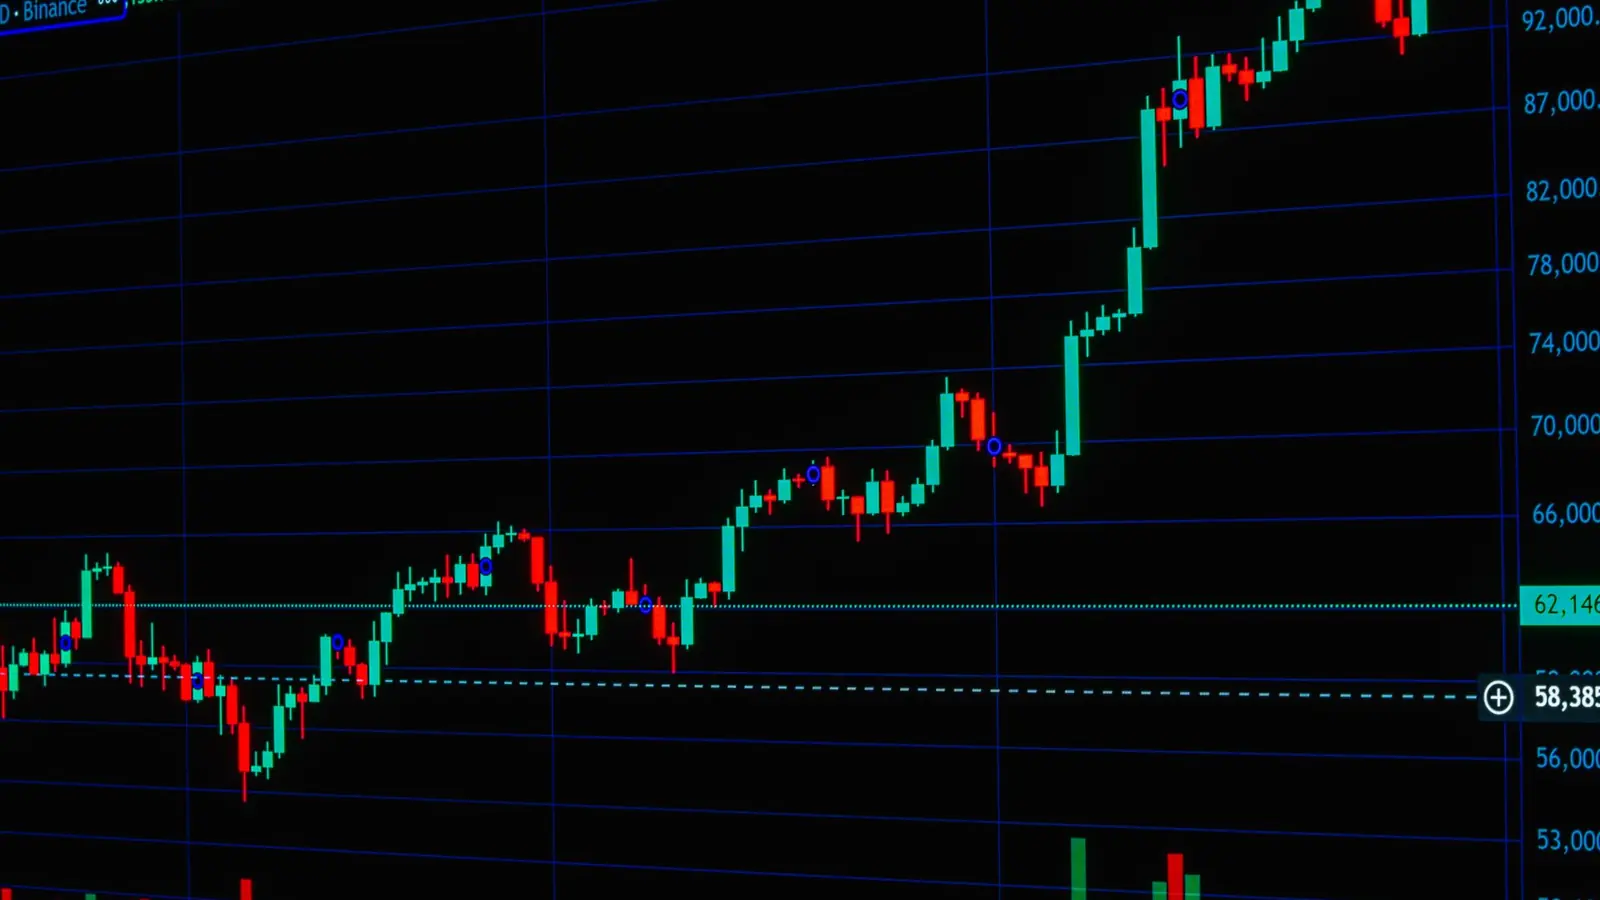
Entry
Most FVG entries are limit orders placed in advance, not market orders chased after the fact:
- Near edge of the gap (top of a bullish gap, bottom of a bearish one): most fills, least favourable price.
- Consequent encroachment: a balance between fill rate and price.
- Confirmation entry: wait for price to reach the gap, then wait for a lower timeframe shift in structure and place a limit order at the zone it leaves. Fewer fills, often a tighter stop.
For how resting orders behave, see market order vs limit order.
Stop placement
Put the stop where the idea is wrong. For a bullish FVG, that is either below the gap (beyond candle 1's high), the tightest valid stop, or below the swing low that started the displacement, often the sweep low, which is wider but survives deeper pullbacks. Mirror these for a bearish gap, then size the position from the stop distance with the position size calculator.
Targets
ICT traders aim at opposing liquidity: the next obvious pool of stops in the trade's direction. For a long, that is usually the most recent swing high or a cluster of equal highs; for a short, the swing lows below.
Check reward to risk before placing the order. As the chart below shows, a 1:2 trade breaks even at about a 33% win rate before costs, while a 1:1 trade needs 50%.
More on that maths in risk reward ratio explained.
Filled, respected and inverted gaps
When price returns to a gap, one of three things usually happens:
- Respected: price trades into the gap, often to CE, then continues in the original direction. This is what a gap entry is betting on.
- Filled: price trades through the whole gap. A wick through may leave the idea alive; most traders treat a close beyond the far edge as a failure.
- Inverted: price closes decisively through the gap, and the gap then flips role. This is the inverse fair value gap (IFVG). A failed bullish FVG retested from below acts as resistance; a failed bearish FVG retested from above acts as support. Traders read it as order flow changing direction and use it for entries the other way.
A related refinement is the balanced price range (BPR): the overlap of a bullish and a bearish FVG that formed close together. Some traders treat that overlap as a tighter zone of interest, at the cost of more subjectivity.
Timeframes, and FVG vs order block
The definition is identical on every timeframe; the role changes. Higher timeframe gaps (daily, 4 hour) give direction and areas of interest. Lower timeframe gaps (15, 5 or 1 minute) give precise entries inside that idea, but far more of them are noise. A common workflow: direction from the higher timeframe, then a sweep and structure break on the execution timeframe, then entry at the gap that displacement left, often during the London or New York opens (see forex market hours).
An order block is the last opposite colored candle before the displacement, while the FVG is the imbalance inside the displacement. They often sit next to each other, so many traders use the gap as the first entry zone and the order block just beyond it as the deeper one.
Common mistakes
- Trading every gap. Without a sweep, a structure break or higher timeframe context, a gap is just a fast candle.
- Marking bodies instead of wicks.
- Fighting the trend, such as buying bullish gaps in a clear downtrend.
- Stops a few ticks under the gap, easily taken out by noise or spread. Give the trade room and size down instead.
- Chasing missed entries. If price never reached the gap, the trade did not happen.
- Trusting hindsight charts and skipping the backtest. Write down which gaps, entry, stop and target you use, and test them.
Using fair value gaps in a prop challenge
FVG entries suit evaluations because entry, stop and target are defined before the order is placed. In a Velotrade challenge:
- Size from the daily loss limit: 5% on CLASSIC 2-Step, 4% on CLASSIC 1-Step, 3% on PRO 1-Step. It resets at 00:30 UTC and is set from the higher of your balance or equity at that time. Modest risk per trade lets you survive a run of failed gaps.
- Respect the static maximum drawdown (10%, 7% and 3% respectively). It is fixed from your starting balance and does not trail your gains. See static maximum drawdown explained.
- Track pending orders. Limit orders can fill while you are away, so review them before news and the daily reset.
- Plan for news. News trading is allowed, but releases such as NFP can blow through a gap and fill orders at worse prices.
Gaps form on forex pairs, index ETFs, gold and crypto alike. For a wider plan, see how to pass a crypto prop challenge.
This article is educational and is not investment advice. Velotrade challenges and funded accounts are simulated.
Ready to trade with $200,000 capital?
Explore challengesFrequently Asked Questions
About the author

Gianluca Pizzituti
Chief Executive Officer
Formerly on the derivatives desk at Dresdner Kleinwort in London, then founded and ran a proprietary HFT firm in FX and equity indices out of Singapore.
View author page