Run your algo on funded capital
ExploreLearning how to build a trading bot comes down to 6 practical steps: pick a strategy, choose a language, connect to a market API, backtest, add risk controls, then deploy. A trading bot is just a set of rules written in code that reads prices and places orders without you clicking anything. The harder part is not the code, it is finding somewhere to run the finished bot on real size, because most prop firms restrict automation.
This guide walks through the full process, then shows where a working bot can trade funded capital under rules that actually permit it.
Highlights of this article
- Building a trading bot takes 6 steps: strategy, language, API, backtest, risk controls, deployment
- Python is the most common language for a first bot because of its data and API libraries
- A bot needs a REST and WebSocket API to read prices and send orders programmatically
- Backtesting and paper trading catch the errors that would otherwise blow a live account
- Most prop firms restrict bots, Velotrade allows them on every account with full API access, so a finished bot has funded capital to run on
Step 1: Pick a Strategy Before You Write Code
A trading bot automates a strategy. It cannot invent one. So the first task is not coding, it is defining a set of rules clear enough that a computer can follow them with no judgment calls.
A workable first strategy has 4 defined parts:
- Entry: the exact condition that opens a position, for example a 50-period moving average crossing above the 200-period moving average.
- Exit: the condition that closes it, whether a profit target, an opposite signal, or a time limit.
- Position size: how much to risk per trade, expressed as a fixed percentage of account equity.
- Stop loss: the price at which the trade is abandoned.
Common starting strategies include moving average crossovers (see the golden cross), breakout systems that buy new highs, mean reversion that fades extreme moves, and RSI threshold entries. Avoid anything that depends on discretion, news interpretation, or "feel", because a bot cannot replicate those. Automated execution is the delivery layer of quant trading, and the strategy has to be mechanical from the start.
If you cannot write the rule as an if statement, the bot cannot trade it. Charting traders often prototype these rules first in Pine Script on TradingView before porting them to a standalone bot.
Step 2: Choose Your Language and Tools
You can build a trading bot in almost any language, but the practical shortlist is short. The choice usually comes down to how much support the ecosystem gives you for data handling and API calls.
| Language | Best for | Strengths | Trade-offs |
|---|---|---|---|
| Python | First bots, research, most retail algos | Huge library set (pandas, ccxt, backtrader), easy to read | Slower execution than compiled languages |
| JavaScript / Node.js | Web-connected bots, real-time streams | Native WebSocket handling, runs anywhere | Fewer backtesting libraries |
| C++ | High-frequency, latency-sensitive systems | Fastest execution | Steep learning curve, slow to develop |
| Rust | Modern low-latency systems | Speed with memory safety | Smaller trading ecosystem |
For most people building a trading bot for the first time, Python is the right answer. The "trading bot python" path is popular for a reason: libraries like pandas handle price data, requests and websocket-client handle the API, and backtrader or vectorbt handle testing. You are assembling parts, not writing everything from scratch. If crypto is your market, our crypto trading bot guide compares the main bot types and their risks.
You will also need a code editor, a way to store API keys securely as environment variables rather than in the script, and a place to run the bot later, covered in Step 6.
Step 3: Connect the Bot to a Market API
An API is how the bot talks to the market. Without one, your code has no prices to read and no way to place an order. This is the step that turns a backtest script into a live trading bot.
Two API types matter:
- REST API: request-and-response calls. The bot asks for the current price, account balance, or open positions, and sends orders. Good for actions that happen on a schedule.
- WebSocket API: a streaming connection. The market pushes price updates to the bot the moment they happen, with no repeated polling. This is what you want for anything reacting to live price movement.
A typical loop looks like this: the WebSocket streams live prices, your strategy logic checks each update against the entry and exit rules, and when a rule triggers, a REST call places the order. The bot then tracks the open position and manages the exit the same way.
Full REST and WebSocket access is not something every platform offers to bot builders, and some charge extra or require approval. On Velotrade, both are included on every account with no fee and no approval step, so the same API you test on is the one you trade on.

Step 4: Backtest Before You Risk Any Money
Backtesting runs your strategy against historical price data to see how it would have performed. It is the cheapest way to find out that an idea does not work, before it costs you anything.
Feed the bot 2 to 5 years of historical data and let it trade the rules exactly as written. Then read the output honestly:
- Win rate: the percentage of trades that closed in profit.
- Maximum drawdown: the largest peak-to-trough drop in equity. This number matters more than total return, because it tells you the worst the strategy felt.
- Profit factor: gross profit divided by gross loss. Above 1 is profitable, below 1 loses.
- Number of trades: a strategy with 12 trades has not proven anything. You want a few hundred at least.
Watch for overfitting. If you tune a strategy until it looks perfect on past data, you have usually just memorized the past, not found an edge. A rule set that only works with 1 exact parameter value is fragile. After backtesting, run the bot in paper trading, live prices, simulated money, for a few weeks. Paper trading exposes bugs that backtests hide, like orders that never fill or a WebSocket that drops and never reconnects.
Step 5: Build Risk Controls Into the Bot
A bot with no risk controls will trade an error thousands of times before you notice. Risk logic is not optional decoration, it is the part that keeps a bug from emptying an account.
At minimum, build in:
- Position sizing: never risk a large fixed percentage per trade. Size from account equity so losses shrink the next position instead of compounding.
- A hard stop loss on every trade: the bot must set it automatically, never leave it for later.
- A daily loss limit: if cumulative losses hit a threshold, the bot stops trading for the day. This single control saves more accounts than any entry signal.
- Error handling: wrap every API call so a dropped connection or rejected order pauses the bot instead of crashing it or firing blind.
- A kill switch: one command that flattens all positions and halts everything.
These controls matter even more on an evaluation account, where breaching a drawdown limit ends the challenge. This is where the drawdown model of the firm you run on becomes part of your bot's design. A static maximum drawdown fixes the loss floor at the starting balance and never moves it, so your bot can calculate its exact stop distance once and rely on it. A trailing model moves the floor up as equity rises, which your risk code has to track live. See static maximum drawdown explained for why the fixed version is simpler to code against.
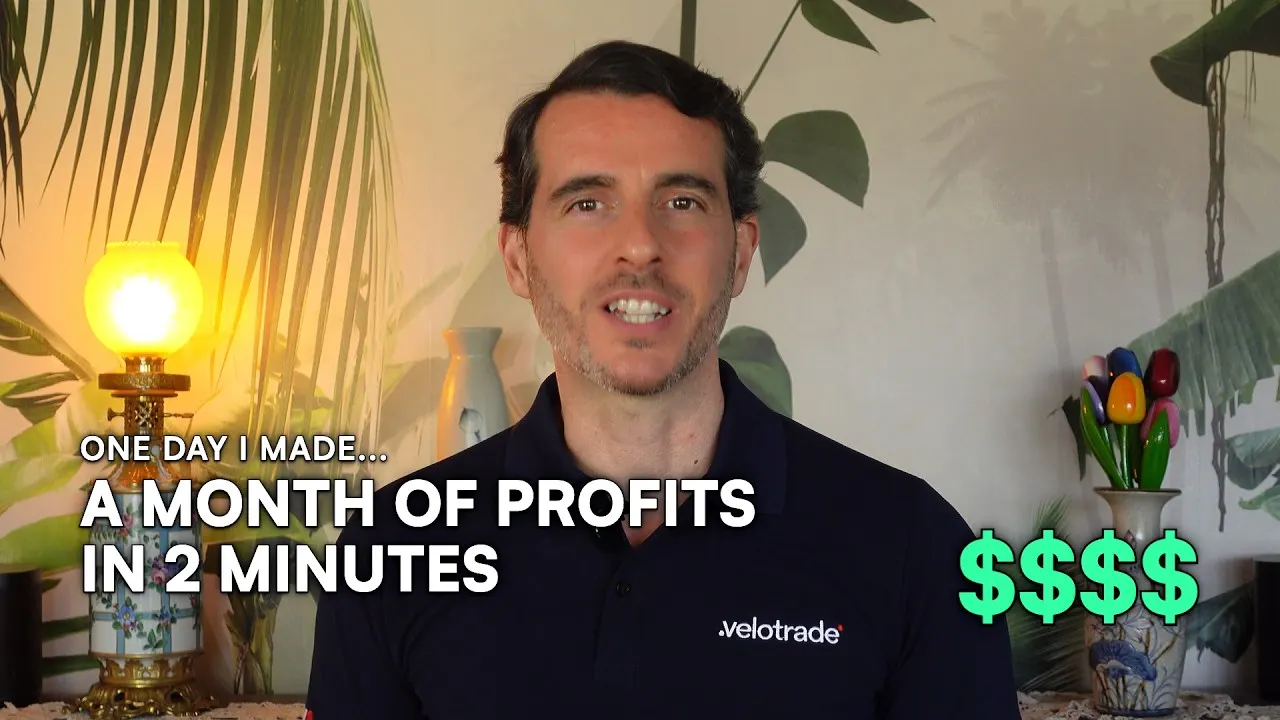
Why risk controls matter so much: Gianluca Pizzituti, Velotrade's CEO, tells the story of a Nikkei arbitrage bot that kept trading a stale quote after a small code change. It ended in profit, but only by luck, and the lesson is the one this step is about. (Note that arbitrage, latency arbitrage, high-frequency and grid strategies are prohibited on Velotrade accounts; see the rules.)
 4:48
4:48Read the transcript
I once made a month of profit in about two minutes, and it was one of the worst trades of my career.
Further to my last video about the most dangerous winning trade, let me tell you a real story. I am Gianluca Pizzituti, CEO of Velotrade. I've been trading for 25 years, both institutionally and privately.
This story happened when I was trading in Singapore. At the time I was building algorithmic trading strategies, and back then you built almost everything yourself: the logic, the execution, the risk controls, the protection against bad code, hardware failures and software glitches.
Today, many brokers have limits and automatic risk controls. Back then there was much less standing between a coding mistake and a very expensive disaster.
My strategy was a correlation arbitrage between the Nikkei futures trading in Osaka, traded in yen, and the corresponding contracts in Singapore and Chicago, traded in US dollars. The idea was straightforward. If the spread moved far enough, the algorithm would trade one contract and hedge it with one of the others.
My story happened during the normal daily break between the T and T+1 sessions. A couple of days earlier I had made changes to the algorithm, and I must have broken the logic that handled the session gap.
When Osaka entered the break, the system continued treating the last displayed price as credible. That small coding change created a dangerous mismatch between the displayed quote and the actual trading session.
Then there was a sharp move in the S&P 500 futures. That move flowed into the Nikkei contract that was still trading in Singapore. The Singapore price moved. The stale Osaka price did not. To my algorithm, the spread suddenly looked enormous.
I was looking at something else when I heard the sound every electronic trader knows. Boom, boom, boom, boom, boom. It did not stop.
The algorithm kept filling one side and trying to hedge on the Osaka side. But Osaka was closed, so the hedge orders could not execute. Within seconds I had traded hundreds of Nikkei futures on one side and no hedge on the other.
I do not even remember whether I was long or short. I only remember looking at the position and thinking: what on earth has happened?
And then I got lucky. Extremely lucky. The market was thin, the move reversed, and the unhedged orders started filling. I managed to unwind the position at average prices better than the ones my algorithm had originally targeted.
In about two minutes I had made what was probably the profit of the entire month. On paper it looked fantastic. In reality it was a disaster that happened to pay me.
I sat there for several minutes trying to understand what had happened. The code was not protected properly. The market status was not handled correctly. I was distracted. I may have been tired. Several things had failed at the same time.
That position could have moved against me and caused an enormous loss. Instead the market reversed and paid me. But I did not confuse the result with skill. There was no skill in that outcome. It was pure luck.
And that is the point. A profitable trade can still expose a terrible process. If you celebrate the money and ignore the failure, the market may not be so generous next time.
The right response was not to celebrate the profit. It was to recognize that the system had failed, and that pure luck had saved me from a potentially enormous loss. So I stopped, traced the failure and fixed the process. Because a lucky outcome does not make a dangerous mistake acceptable.
If you have ever made money on a trade that you later realized was pure luck, tell me what happened in the comments. See you in the next video.
Step 6: Deploy the Bot Where It Can Trade Funded Capital
A bot that only trades your own small account is a science project. The point of building one is to run it on size. That means 2 things: hosting it so it runs 24/7, and finding an account with enough capital that also permits automation.
For hosting, run the bot on a cloud server or VPS rather than your laptop, so it does not stop when your machine sleeps or loses wifi. Keep API keys in environment variables, log every action, and set alerts for errors. Check the firm's hosting policy before you commit to this: a review of 15 prop firms' published rules found two that prohibit VPS, VPN and remote servers outright, requiring all order flow to originate from the trader's own device.
The capital problem is where most bot builders get stuck. Trading a large personal account means risking your own money. Prop firms solve that by funding you after an evaluation, but here is the catch: most prop firms restrict or ban bots outright. Compare which prop firms allow EAs and automated trading, and on what conditions, before you buy a challenge.
| Common firm restriction | Effect on a bot builder |
|---|---|
| Bots or EAs banned entirely | The finished bot cannot run at all |
| Automation allowed only with prior approval | Delays and manual review before deployment |
| No API access, or paid API add-on | The bot has no way to connect |
| Consistency rule | Bot must be re-engineered to spread profit evenly |
| Per-trade risk cap or max lot size | Position sizing logic has to be rebuilt around the cap |
Velotrade is built the other way. Bots, EAs, and algorithmic trading are allowed on every account with full REST and WebSocket API access, no extra fee, and no approval step. There is no consistency rule at any stage, no per-trade risk cap, and no max lot size, so your position sizing logic runs as written. The static maximum drawdown gives your risk code a fixed floor to calculate against. Pass a 1-Step or 2-Step challenge and the same bot trades funded capital, with up to 90% profit split paid in USDC or USDT.
For a deeper walkthrough of wiring a finished bot to a funded account, see how to run a trading bot on a funded crypto account. For which strategy types pass evaluation cleanly, see algo and bot trading in crypto prop firms, and for a side-by-side of the most automation-friendly firms, see best crypto prop firms for algo traders. New to the concept? Start with what algorithmic trading is, and before you deploy, validate the strategy with backtesting trading strategies. To have an AI assistant like ChatGPT or Claude write most of the bot, see the AI trading guide.
Velotrade provides education and simulated trading only. It is not a broker, bank, or regulated financial institution, and nothing in this article is investment advice. Building and running a trading bot carries risk, and past backtested performance does not predict future results. Always confirm current platform and rule details before deploying any automated system.
Frequently Asked Questions
About the author

Vittorio De Angelis
Executive Chairman
Former equity-derivatives trader at JP Morgan, Dresdner Kleinwort and Bank of America in London. Later Head of Brokerage at a global broker in Hong Kong.
Velotrade was founded in Hong Kong in 2016 by a team from JP Morgan, Dresdner Kleinwort and Bank of America, has paid out over $2.5 billion to its trade-finance clients, and has been featured in Bloomberg, the Financial Times, the Wall Street Journal and on Nasdaq. Its prop trading evaluations are simulated and educational.
View author page